

Happy October! Yes! I am still committed to making a Button Keeper for each month of the year. I promise you, as each one makes their appearance, you can't help looking forward to what the next month will hold.

Knowing how busy everyone will be with their holiday crafting, I thought I would combine techniques for my next three month's projects. One might be perfectly perfect for your holiday gift giving.

COVERING LID
STEP 1. DON'T FORGET to hot glue inner lid to ring. The weight of topper will cause ring to continuously circle jar if you don't!
STEP 2. Hot glue two stacked pieces of cardboard on lid.
STEP 3. Hot glue strip of cardboard around ring, trim.
STEP 4. Trace lid onto cardboard and back of printed paper.

STEP 5. Glue stick printed paper to cardboard, then onto heavy card stock, pink edges. Hot glue on lid.
STEP 6. Cut strip of paper wide enough to cover side of rim, pink edge. Hot glue in place.
STEP 7. Optional - Hot glue decorative tinsel stem, Glitter glue paper circle.

October and November's Button Keepers are made using Paper Clay purchased at Michaels, $10.00.

PAPER CLAY - Have a small amount of water available.
STEP 1. Pinch off small amount of clay. Working with your thumb, lightly press clay onto surface of Styrofoam shape pressing outward direction.

STEP 2. Ears or nose are first created as triangular and round shapes than placed on surface of clay. Use forefinger to slightly pull edges of clay to surface creating a smooth appearance.
STEP 3. When shape is to liking, wet forefinger and smooth clay further.

STEP 4. Wings begin as ball shapes, pinch one side between fingers to create teardrop shape. Flatten between thumb and forefinger.
STEP 5. Attach to body surface. Lightly pull edges to surface. Wet finger to smooth.
NOTE: Only small pieces of paper clay can be added in this way. Large pieces need Styrofoam to keep them from being to heavy.
STEP 6. Head is attached to body with use of partial toothpick. Insert pipe cleaner stems for legs and arms.
STEP 7. Leave piece to dry overnight. Paint next day. Pieces also can be dried in front of fan. Note: Climate effects drying time.

Oh my gosh! The tops can be as simple as these and be just as charming as can be.

I know I will create large jar versions next year just because these are such fun to make. Can you see my pom pom skier within the jar topped by an Oh So Cute sparkly snowman? Love it!

TRIMS:
My wonderful snowman's collar was created in the same manner as my October Button Keeper's collar.
STEP 1. Layer seven lengths of crepe. Take a hand running stitch along one edge, pink opposite edge.
STEP 2. Cut between pinks up to running thread.

STEP 3. Create a circle large enough to overhang jar lid. NOTE: I did not need cardboard pieces in center of jar lid because crepe will fill in the area.
STEP 4. Hot glue topper in place.

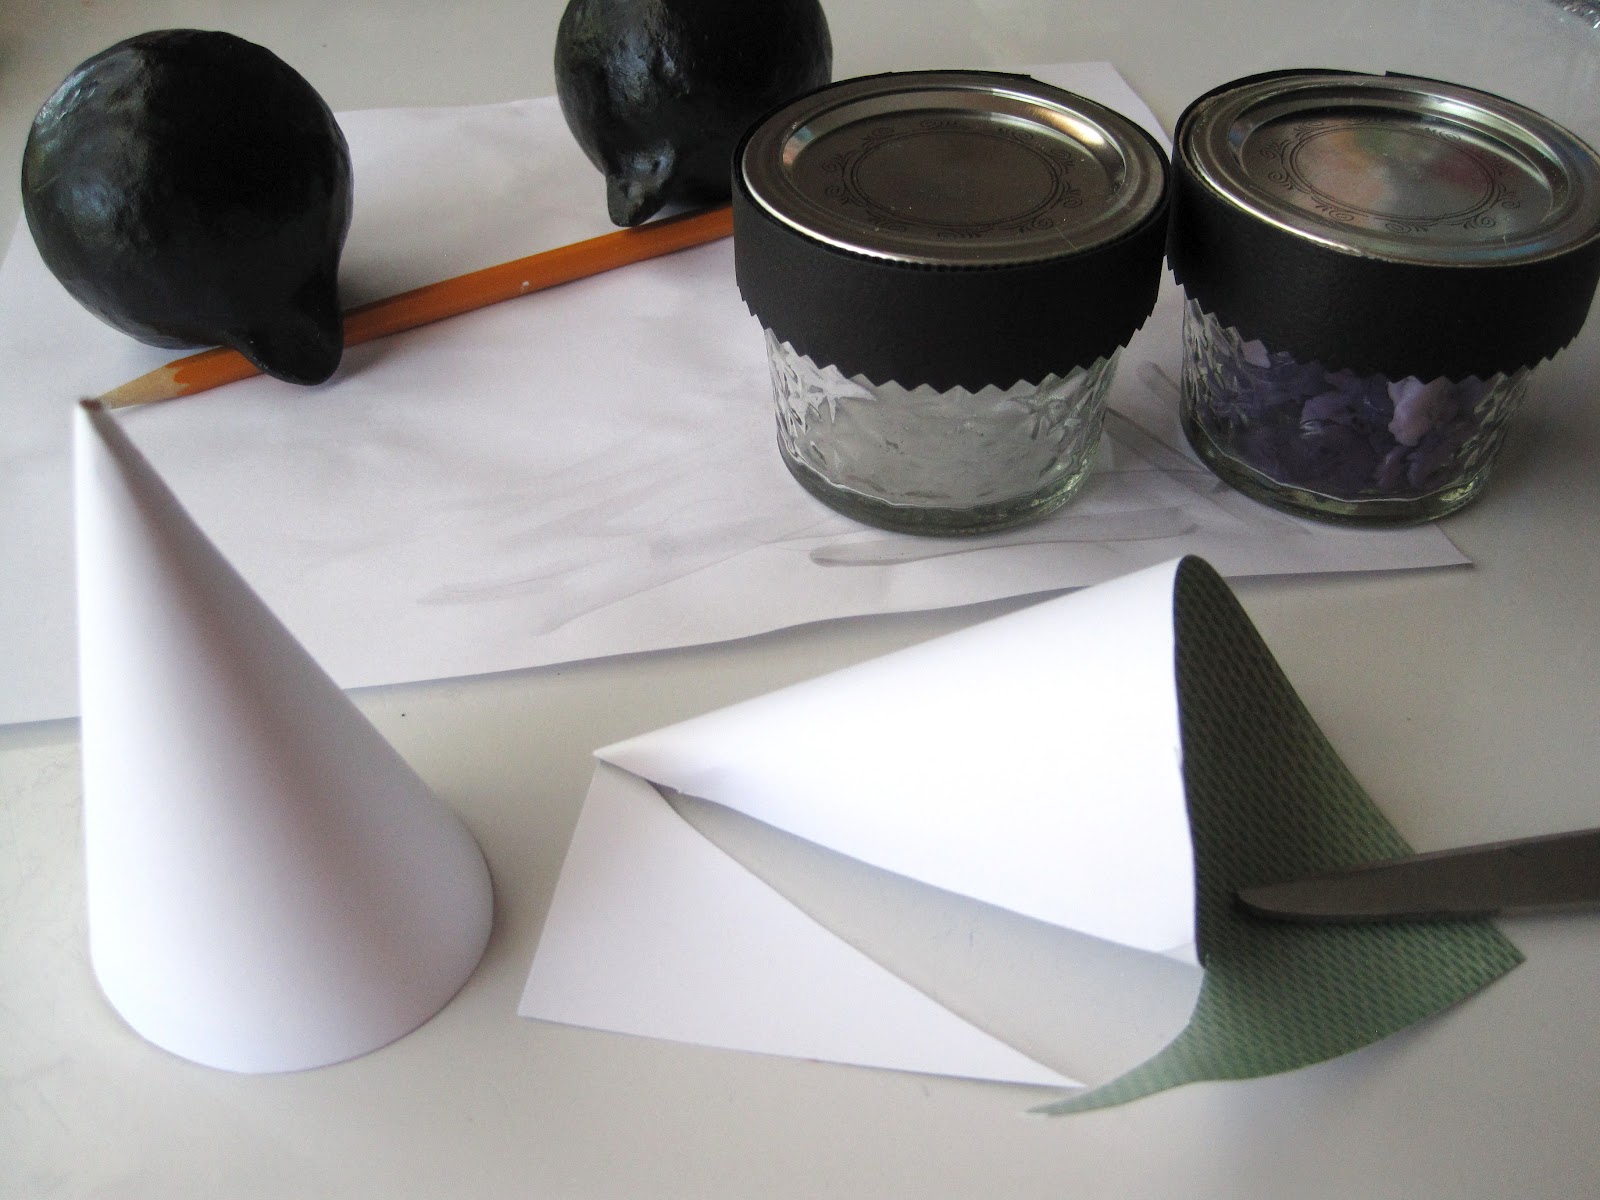
PARTY HATS: (These steps are for using vintage materials that may be fragile)
TIP: WIDTH OF PAPER = HOW TALL HAT WILL BE
STEP 1. Cut width of paper.
TIP: PULL PAPER ACROSS EDGE OF YOUR CRAFT DESK TO SOFTEN AND CURL PAPER.
STEP 2. Form cone shape.
STEP 3. With hat pinched between fingers, apply bead of hot glue down length where papers meet.
STEP 4. Trim away excess paper. Trim around opening beginning at shorter side. TIP: Keep scissors perpendicular to desk for a straight cut.
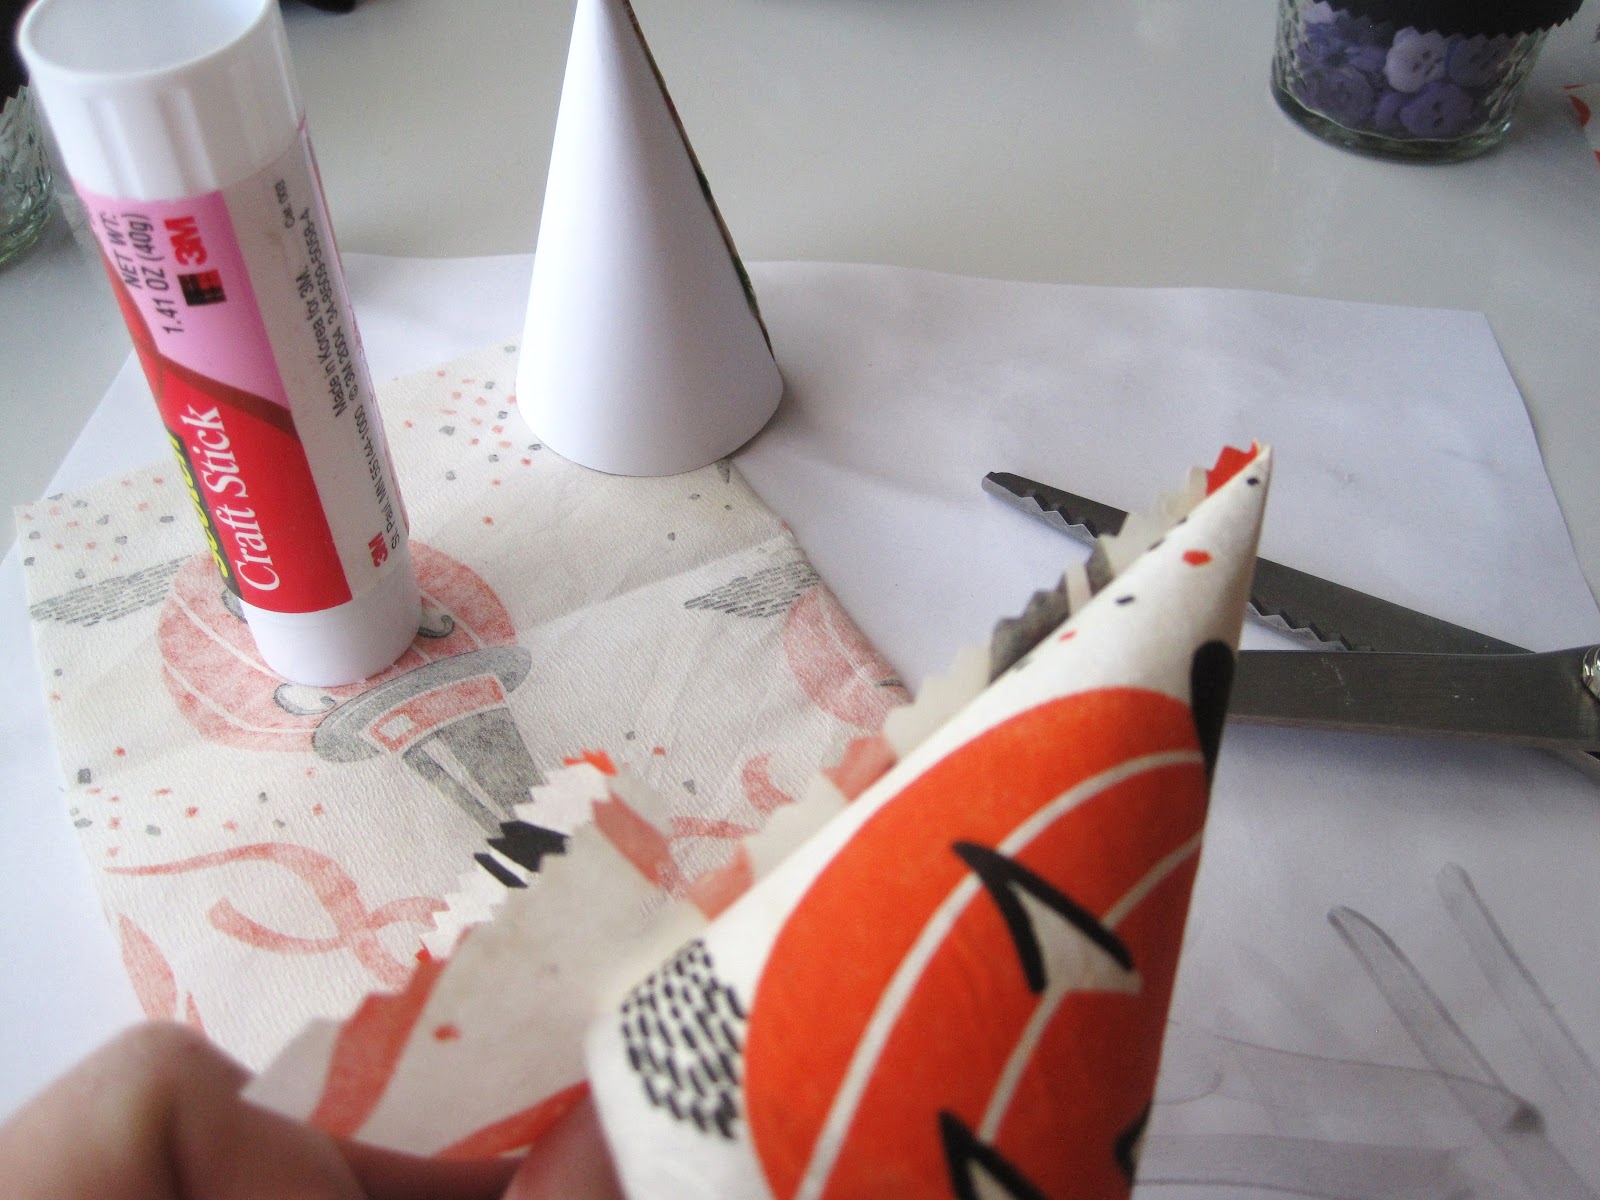
STEP 5. Vintage paper - Cut same width paper as hat strip. Apply glue stick to back of strip. Adhere to base cone. Trim.
STEP 6. Hot glue crepe or tinsel stem to edge of party hat.

A snowman in October? Like I said, once you make one Button Keeper, you just can't stop!
17 comments:
Love your pink snowman button keeper, Elizabeth. So glad you are continuing to make your button keepers for each month. By the end of the year you are going to have pretty and functional creations for your craft room.
Darling, I have only used paperclay once, I guess I should pull it out and give it another go! The Black Cats are so cute! Hugs, Diane
Thank you for sharing such detailed tutorials. I'm completely smitten with your ruffled tissue collars. They make each of your creations so special. I always leave your crafting tutorials inspired.
YOu are a jack of all crafts I think elizabeth! Love them all and nice to see just how you makes yours!
I love paperclay and use it all the time!
have fun!
xoxo
vivian
I am so glad you showed how to make the collars...it's much easier than the way I've been doing it and the finished product looks much tidier than mine do at times. Thanks! =D
I just love these button jars! I am going to have to start making some. Thank you for the ruffle collar tutorial and tips on using the paperclay. Have a great night and happy crafting, Holly
Always love seeing your sweet button jars!! So cute! xo Heather
Thanks for another great tutorial! I haven't attempted collars for my characters yet so I may have to try it! I can't believe how fast you can create SO MUCH! Larger jars for next year? If I know you, you'll have a larger jar made by next week! You're my hero, E!
Adorable! What a great tutorial! Now I have to finish up my Halloweenies so that I can start a button keeper of my own...Thank you so much, you are truly an inspiration!!
Oh Elizabeth....these are so sweet. The snowman jar in the last photo is my favorite. Did you make him out of the Paper Clay too? He's absolutely adorable!
Your button keepers are such characters..they have such great faces!! I have never tried paperclay....maybe now's a good time to give it a try!!
chris
November's button keeper is happy in my craft room wit hall his new owl friends.
Chris =]
Your button keepers are the cutest things ever! How do you think of such cute creations??? They would make excellent gifts!
Blessings
Linda
Thanks for all the tips. Especially the ruffled collar. So cute. All your creations are adorable!
I just love seeing your button jars! They are so cute and adorable! :) xx Holly
Post a Comment